Suppose you are creating a project from scratch and you completed the project. Now you thought of adding more changes to the project, thus creating a new version. Everything’s going well with the latest version until a bug appears. Now, this bug is crashing the whole project, and you wish to switch back to version 1. And it is only possible if you cloned version 1 in a different folder to create version 2 but what if you just made the changes by editing version 1 itself?
And now you are manually searching for changes you made for version 2 and removing those changes. Doesn’t it sound like a headache? Yup, sounds like one to me.
This was the case with only two versions, let's say there were more than 2 versions and the code base is also quite gigantic. Now, what happens?

Exactly, it will create a panicking situation. So, it seems we are in need of a system which can easily control our versions. And thus here comes GIT to save the day.
GIT
Git is a version control system. It is used to track the changes that we make to our files so we can have a record of what are the changes that have been applied and most importantly it allows us to revert back to the previous or specific versions should the need arise.
It allows us to collaborate with others and merge all those changes done by others into a single source.
How to use Git?
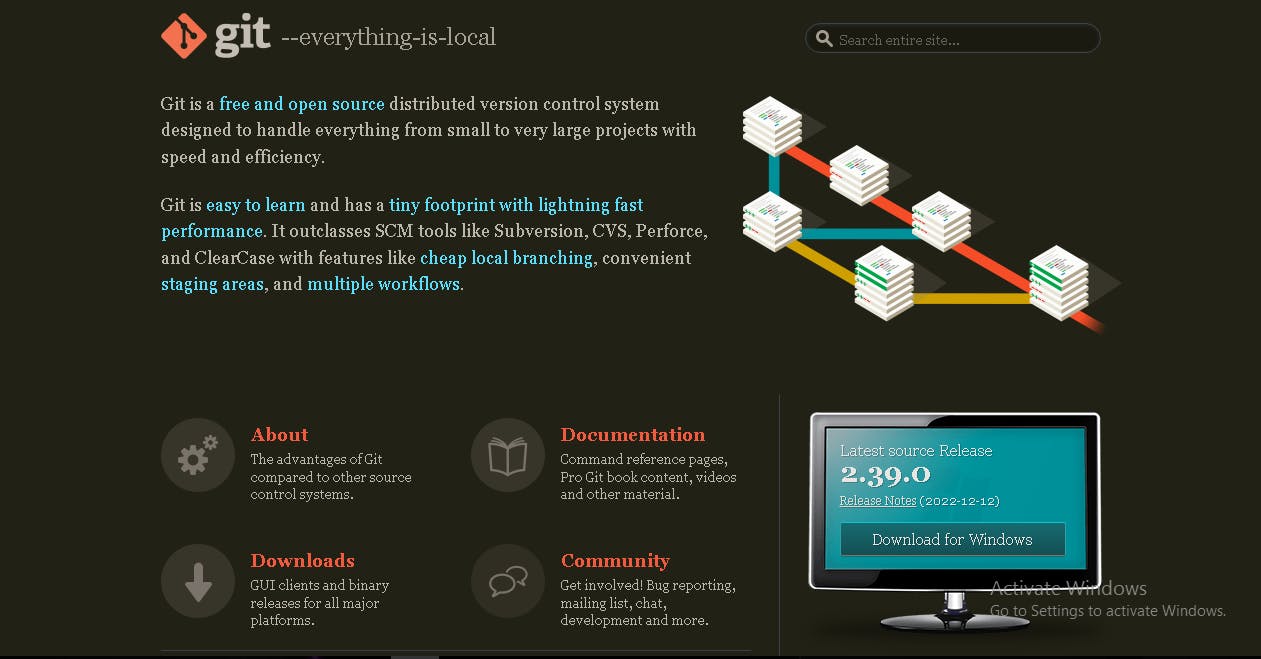
To use Git, we need to first install it from Git’s website. Just search for ‘Git bash’ on your search engine and open the first link and download the software using the link on the home page.

After downloading it, install it following the installation instructions.
Now once the installation is complete, search for Git Bash software on your computer and open it. A git bash CLI will be opened.
It looks something like this.

This is the git bash terminal where we will be using git for tracking changes via git bash commands. We can also use other terminals but git bash must be necessarily installed before using that terminal.
To summarise git, it is a software that runs locally and thereby keeps a record of all our changes physically in our system but there are some online platforms such as Github and Gitlab , etc.. that provide the facility of storing the records online and thus increasing the accessibility of the code and collaboration with others.
Now git can be used in two ways:
CLI - Git bash CLI or any terminal present on your system(but git bash must be installed before using any terminal)
GUI - Desktop apps such as SourceTree
In this article, we will only focus on how to work with Git using CLI
Git Terminology
Now before proceeding forward, let us understand some key terminologies:
Repository - ‘repo’ in short. It is the location where git stores all our files and the record of changes. On our device, we can make any folder a git repository by using some cli commands and this will create a .git subfolder
Staging - This is like telling git what are files we want to commit.
Commit - This refers to the git’s action of recording our changes.
Using Git
Now let’s use git.
Step 1: Create a repository.
Create a folder and open the folder in a terminal (Git bash or any terminal). Now type
git init
This will initialize the folder as a git repository by creating a .git subfolder in the folder.
Step 2 : Add/Write your code files
Step 3 : Now since we have done our required changes, we are now ready to keep track of them. So the first step is Staging.
We will stage all those files we need to keep track of using the CLI command add.
Example:
git add .
Step 4 : Since we have decided which files we want to stage, let's commit them. We can do so using the git commit command.
Example:
git commit -m “Initial commit”
Here the m stands for a commit message. These are messages which we must provide with each commit so that in the future we can deduce what was the purpose of this commit.
Online Repositories
Now, let’s say we also want to keep a record on online platforms such as github. then,
Step 1 : Open any online platform such as Github, Gitlab, etc. We will go with Github

Step 2 : Create an account on that platform
Step 3 : Create a new repository

Step 4 : After you click on create a repository, you will be redirected to that repositories page and there a link will be provided which we will use to push projects in the repo.

Step 5 : Now to connect the offline git repository with the online repository, you need to add the remote repository link by using the following command
git remote add origin https://github.com/GITHUBUSERNAME/REPONAME.git
Now the offline repo is linked with the online repository and just one command is needed now to push everything online.
Just type the following command:
git push -u origin master
This command will push everything to the master branch in the online repository.
That’s all there is to git for starting. Once you start, you will find there are many commands available that just keep on making your version controlling more smooth and easier.

